For Japanese style recipes and food info go to

http://japanesecomfortfood.blogspot.com

Friday, July 25, 2008

Attempting to be Artisanal


Due to overwhelming demand from my fanbase (my brothers Jeff and Tom), I'll detour from talk of Italy and BBQ to discuss bread baking. Pizza, fried dough and good quality Italian bread have always been a staple in our family. I've been toying with a recipe from the King Arthur Whole Grain Baking book and adapted it into a great, basic multi-grain dough that can be used for pizza, ciabata and just about any Italian savory bread dish. The recipe and technique is as follows:


Starter
1 cup whole wheat flour
¾ cup cool water
¼ tsp dry yeast
Mix, cover and leave over night
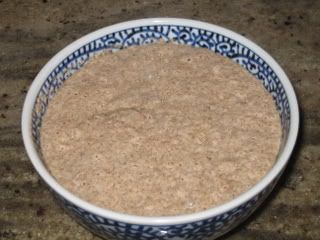


Place starter in stand mixer bowl with dough hook and the following:
1 cup whole wheat flour
2 cups bread flour
½ cup multi-grain hot cereal (unflavored, unsweetened variety sold next to oatmeal)
¼ cup olive oil
2 teaspoons sea salt
1 teaspoon dry yeast
1 ¼ cup cool water
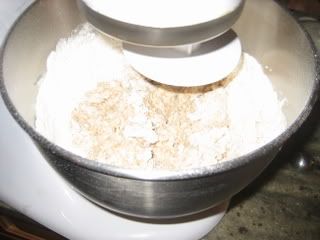


Start mixing on low, scraping down sides of bowl occasionally until all dry ingredients are incorporated.
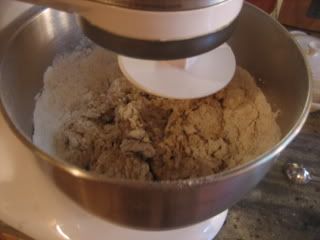


The dough should be wetter than you think. The consistency should be between taffy and cake batter. If it seems dry, add more water.
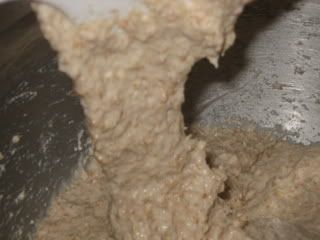


Beat on low for 10 minutes, and then turn out into an oiled bowl. Cover with a cloth and let rise for one hour.
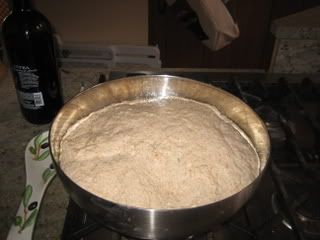


Gently lift the dough out of bowl, starting from the center and letting it drop gently, allowing the loose dough to stretch from your hands into the bowl (almost like pulling taffy).



Borrowed without permission from the King Arthur Whole Grain Baking Book because I couldn't figure out how to take a picture while I had both hands covered in dough and olive oil. (Publishers please forgive me.)

Repeat once per hour for a total of three times. This develops a very elastic dough with long chains of gluten that will hold big air bubbles. After the third turn, preheat your oven to 500 degrees and form the dough into loaves as follows:
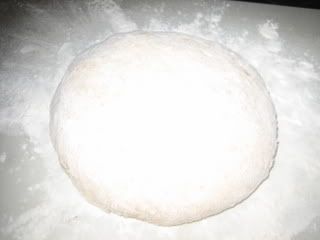


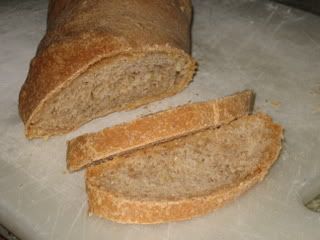
For a normal Italian (Ciabatta style) loaf, I start with 500 grams of dough (about one third of the total recipe)
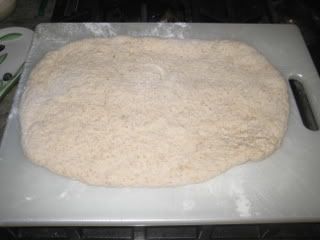


First form it into a rectangle, as if you were making a pizza


Next, roll that up "jelly role" style
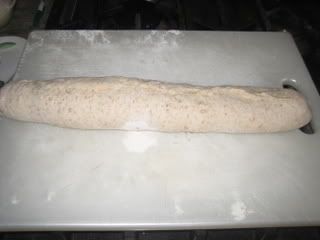


Pinch the edges well to seal up the loaf
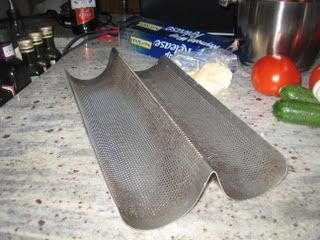


I use a French Baguette pan to rise my loaves
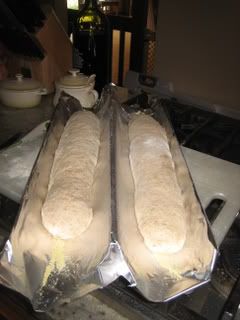


Hint, line the pan with Reynolds Wrap Release foil which has an amazing non-stick coating


Once the loaves have risen (about an hour), you can bake them in the baguette pan, but they will end up with a round bottom. Instead, I like to slide them (foil and all) out of the pan and onto a hot pizza stone.
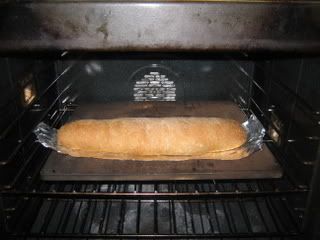


After 10 minutes, drop the oven temp to 400 degrees and pull the foil from under the loaf
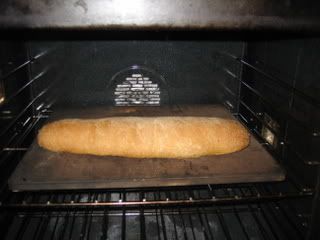


Continue baking directly on the stone for 10 more minutes, rotate the loaf 180 degrees and cook for 5 more minutes.
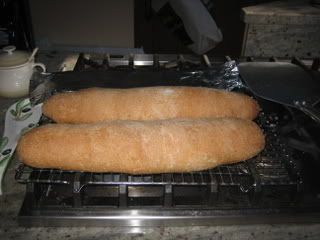


Cool on a wire rack and enjoy!

Nutritional analysis:
Serving size: 42g (about 2 slices) Calories 84 Fat 2gm Fiber 2gm Carb 14 gm


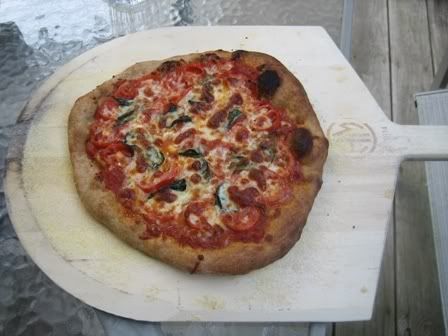
For pizza, keep the dough refrigerated, then when you are ready to cook it, pinch off a tennis ball sized piece and form the crust as you like it.
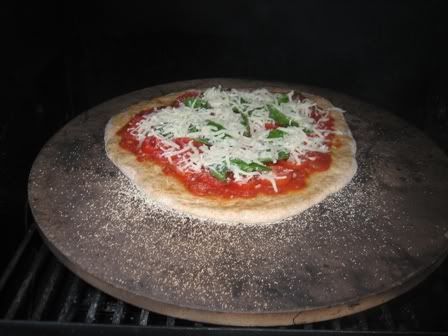


I like to place a baking stone in my barbecue grill and preheat it on high for 1 hour. This helps create a super crispy crust.

Monday, July 7, 2008

Viva Veneto!


Just completed an amazing eating and drinking odyssey. Chiko and I had to go to Italy to attend the wedding of two of our very dear friends. (I know this sounds like a hardship, but somehow we managed to enjoy ourselves!) We did so much and took so many pictures, that there is no way I could cover it all in one post, so I'll just hit you with a few highlights and then follow up with more detailed posts later on.


Lake Garda, Italy


Our friends Mark and Sylvia live in the town of Peschiera del Garda, just outside of Verona, in a region known as the Veneto. This is an amazingly diverse part of Italy that is popular with European tourists, but seems to have not caught on with Americans yet. Those who go to northeastern Italy usually hit Venice and then don't see any of the rest of the region, and that is truly a shame. The Veneto is home to some great wines, great food and spectacular sightseeing (both historic and the natural variety).


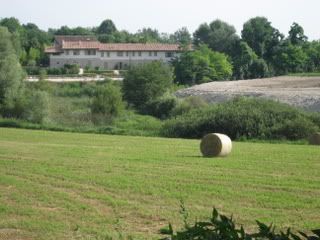
Two Bedroom Loft Apartment in a Converted Farmhouse


Instead of going to a stuffy hotel, we were fortunate enough to stay at a condominium which our friend owns, in a converted farm house from the 16th century. This is a fantastic way to see Italy and to practice speaking Italian! Because we had our own kitchen, we also got to cook our own food a few times, which not only saved us some money but also forced us to use our Italian when we went to the fish market, farmers market, butcher shop, etc.


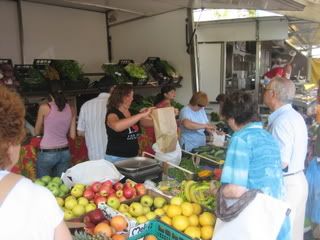
At the Daily Market in Peschiera


Our daily routine usually consisted of coffee and breakfast at home, out on the road around 10 to sight see, wine taste, etc., lunch at a restaurant, then more exploring, a stop at the market for some fresh ingredients and home to cook dinner and relax with a bottle of wine. Did I mention the wine? The Veneto region is home to some of the best wines in Italy (in my opinion of course and sure to be hotly debated amongst Italians).


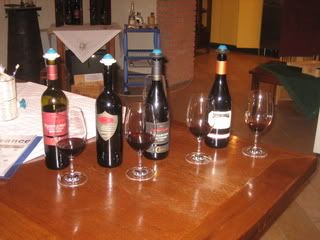
Wine Tasting at one of the Many Wineries


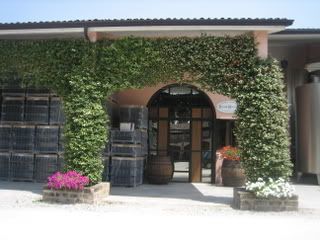
Our apartment is located in the Lugana wine region, which is not well known outside of Italy and Germany. Lugana is best known for it's excellent white wine, which goes very well with the seafood from nearby Lake Garda. It is also close to the Valpolicella region, which is better known in the states, but mostly because of cheap table wine from mega-wine producers such as Bolla. Valpolicella turns out a large quantity of simple local red, but also makes several fine wines such as Amarone.


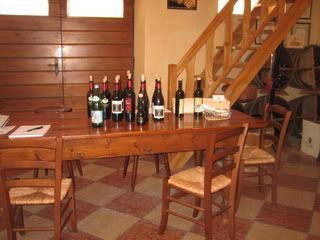
Winery in Lugana


Wineries in Valpolicella


Tasting More Wines!

Monday, June 23, 2008

Here's the Birthday Girl!


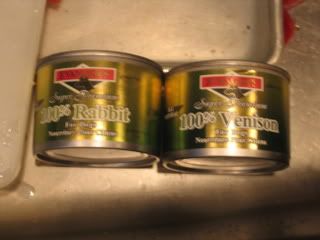
Hi! I'm Jessie and today is my first birthday. Mommy and Daddy had a little birthday party for me. They made me wear a funny hat, and daddy made me an extra special dinner with rabbit meat and vennison!


Afterwards, they gave me a new squeaky toy which I really like to play with. I had so much fun, but my big sister Jamie just slept all day.

Sunday, June 15, 2008

Grill Talk


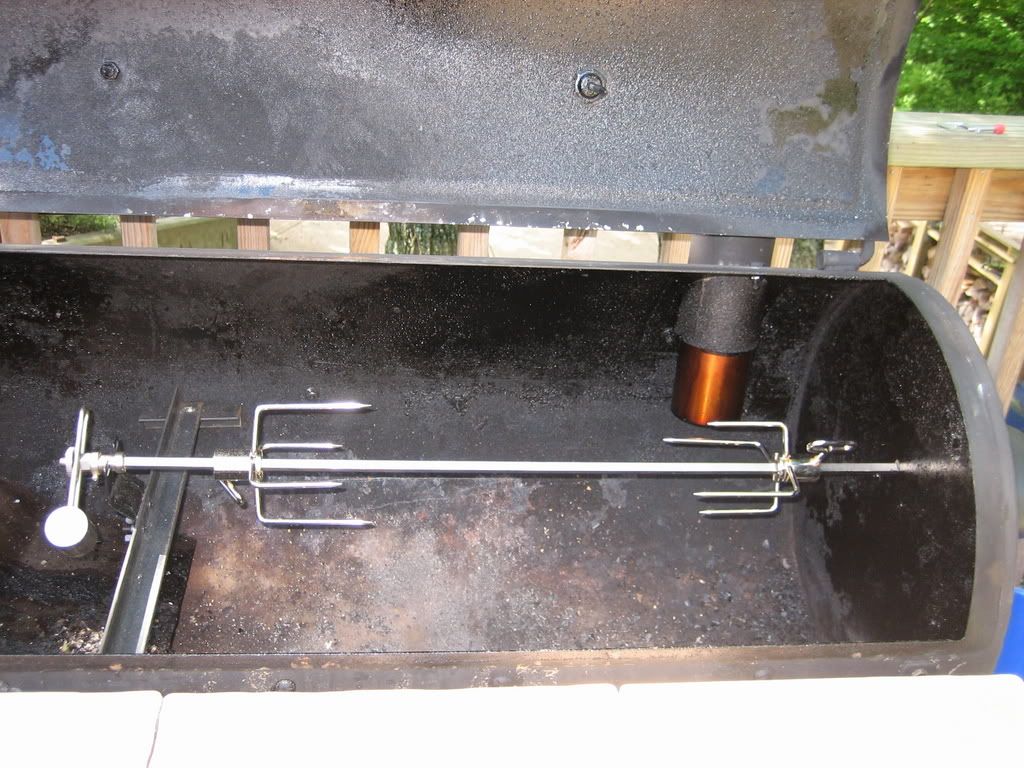
Gee, it's been a long time since I posted anything. Blogging for me seems to be a binge thing. I get on a roll and post a bunch of things in a row than I go dormant. Oh well, it's not like I get paid for doing this! While I may not be posting much, I have been cooking a TON of barbecue. I made a bunch of new grill mods, the biggest of which has been the addition of a rotisserie to my smoker. Rotisseries were hot in the 70's, and then seemed to go out of favor. What a shame. After experimenting with it for about a year, I am now convinced that rotisserie is the best way to cook whole poultry. If one has a standard gas grill, adding a rotisserie kit to it is fairly straightforward. All commercial gas grills come with pre-drilled mountings for the motor and the spit rod support, so all you have to do is get the kit for your brand of grill (or there are universal kits) and bolt it on.


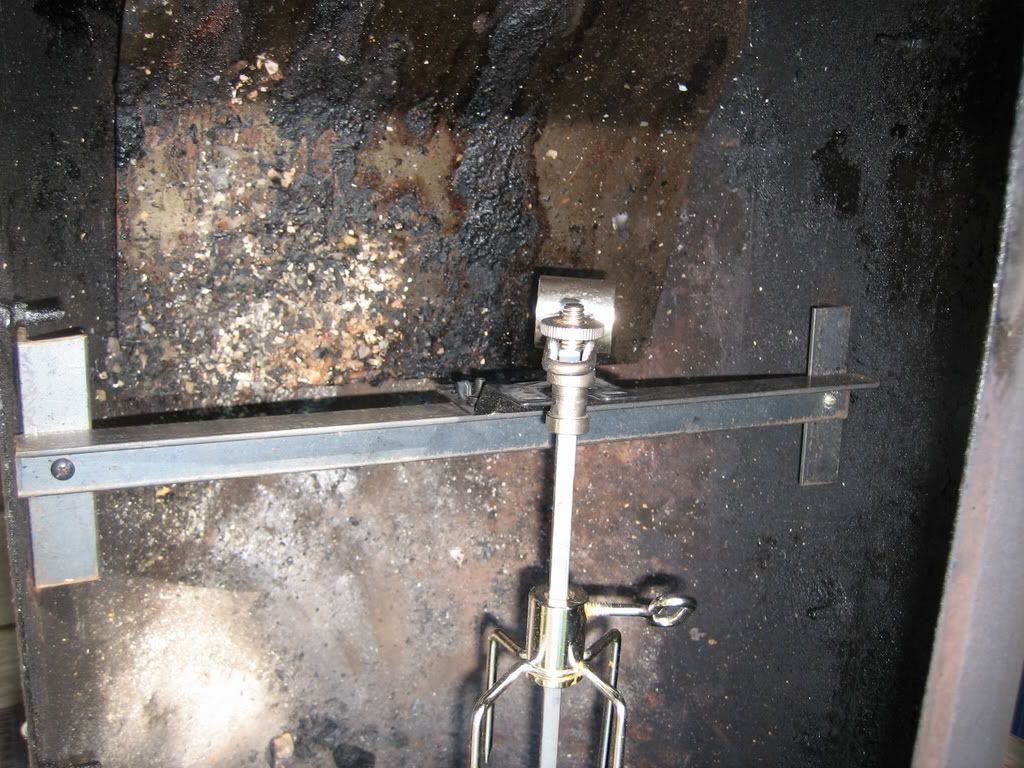
For my fiery frankenstein project it was not so simple. I had to drill a hole through the end of the smoker so the spit rod could pass through and connect to the motor, then I had to come up with a way to support the opposite end of the spit rod. At the time I bought my rotisserie kit, the longest spit rod I could find was a 31 incher. My cooking chamber is 36 inches wide, so I fashioned a cross brace out of angle iron and attached the spit rod support to it and set the cross brace a few inches in from the opposite end of the grill.


This set up works very well, and allows me to do a few things. By sliding the cross brace and the little bushing that sits in it over, I can convert my smoker to just half rotisserie and still use my normal grill racks for other things (here I'm doing baby back ribs and a whole turkey at the same time).


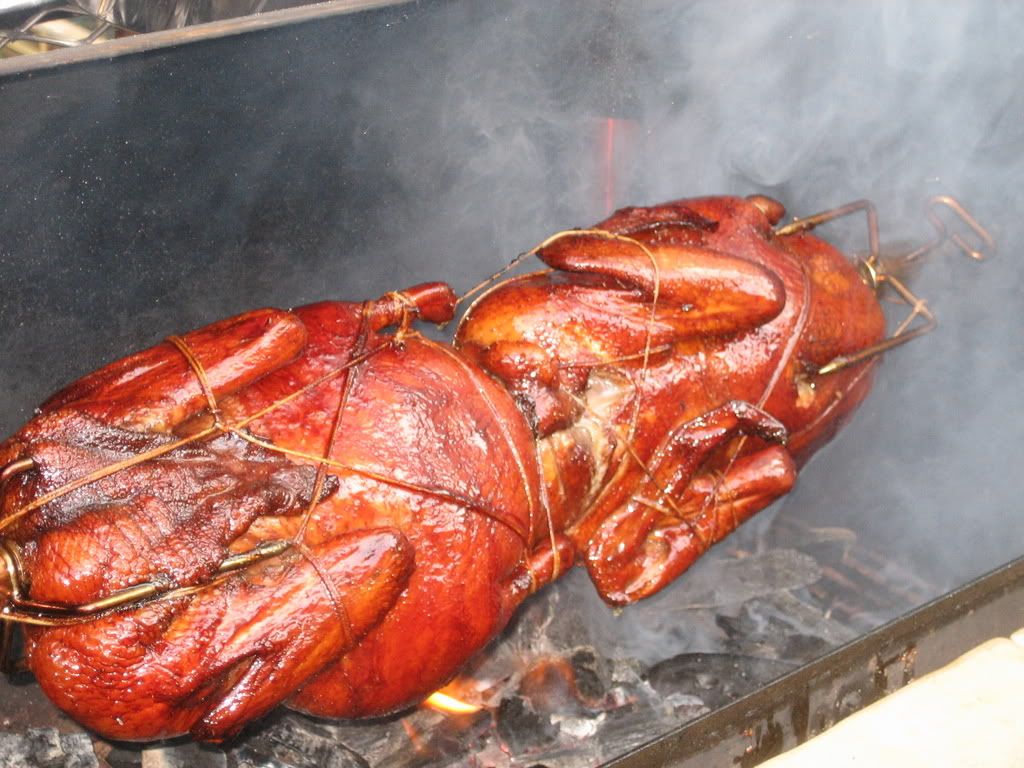
By using the full length of the spit rod, I can do multiple birds (here I'm doing two Chinese style ducks).


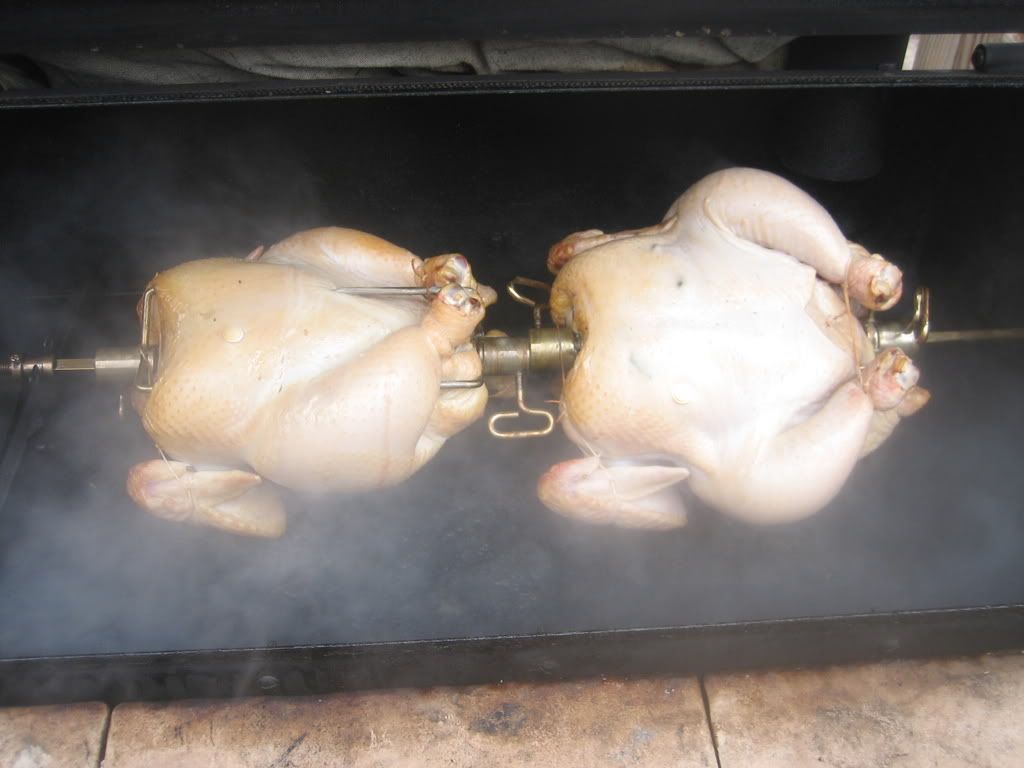
The nicest thing about roto-cooking poultry is the even cooking and the fact that the skin is not marred by sitting on a rack or soggy from laying in its own juice. As the bird rotates, the juices keep getting pulled back into the center of the meat by gravity. The meat stays incredibly moist (I still brine my birds as well for maximum flavor and juiciness). By slow cooking on the rotisserie, with just the heat from the side firebox, then adding a little charcoal to the main chamber during the last 10 minutes I can get great flavor, and a nice crispy skin that looks like it belongs on the cover of Gourmet magazine.


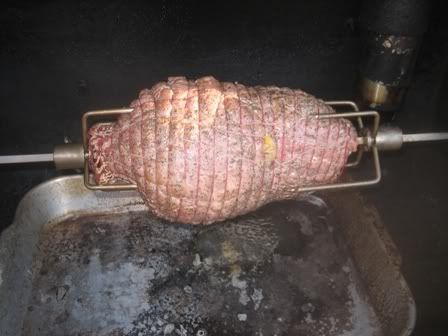
In addition to poultry, rotisseries work great for large roasts. Here I'm making a leg of lamb.


As you can see from the finished product it came out perfect!


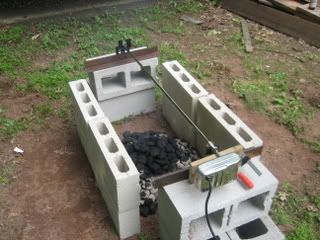
As our annual family reunion appoaches, I was trying to come up with something unique to do food wise. Every year we have a theme, and try to tie in the food, music, costumes and events. Being an olympic year, we chose Ancient Greece for 2008. What could be more appropriate than rotisserie cooking a whole lamb while dressed in a toga! A few months ago I started designing a rotisserie cooker that I could build here at my home in Connecticut then disassemble and bring out to Indiana where the reunion is held. I bought an extra long spit rod (41 inches) and all the necessary brackets, bushings, etc. as well as a high torque motor that can turn up to 50lbs. I made braces out of angle iron to hold everything up, and planned to make a temporary roasting pit out of cinder blocks. While this all looked good on paper (and layed out on my kitchen table, the only way I could be sure it would work was to do a test run.


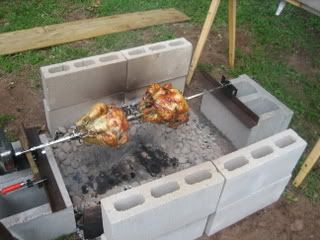
I built the cinder block pit, placed my rotisserie rig on top of it and built a charcoal fire inside. I wasn't going to cook a whole lamb for my test, but a couple of chickens that were on sale for 69 cents a pound found their way onto the spit rod instead.
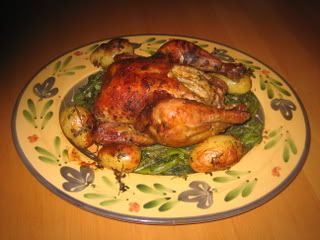
An hour and a half later they were cooked to perfection. While the birds were roasting, I took some baby potatoes, dressed 'em with olive oil, salt & pepper and some fresh herbs, then wrapped in tin foil and dropped 'em directly on the coals to cook. Sauteed a little broccoli rabe in olive oil, garlic and red chile flakes and voila!

Sunday, November 25, 2007

Beer Can Turkey and Panzanella Stuffing


It was a small family gathering this year, just Chiko and I plus my dad and his wife. We decided to try a few variations on the classics this year and were quite pleased with the results. We've been brining our turkeys for the last several years, and this really helps keep the breast meat moist. I tried a new brine recipe this year, consisting of maple syrup, brown sugar, soy sauce, garlic and fresh herbs from my garden. It gave a delightful sweetness to the bird and also helped develop a beautiful bronze color to the skin. One other thing I tried this year that was a little different, was that I cooked the Turkey standing up "beer can chicken" style. I used the holder from my Turkey fryer to keep the bird upright, placed it in a roasting pan and cooked it in the oven on 350 for about three and a half hours. This kept the bird from laying in it's own juices and developed a beautiful crisp skin all over.


For the dressing we went away from the sausage stuffing of my youth, and tried a variation on a recipe that I found in the November 2002 Bon Apetit magazine for mushroom and leek stuffing. I wanted to make it lighter and less gummy than the standard bread based stuffing, so I didn't wet it down with broth in the traditional manner and made what I am calling my Panzanella Stuffing because I used large toasted croutons like those found in the Italian bread salad.


I started off sauteing a blend of shiitake and trumpet mushrooms, to which I added finely sliced leeks, garlic, white wine and fresh herbs.


While this cooked down, I cut up a loaf of rustic whole wheat bread into one inch cubes and toasted them in the oven with a little olive oil.


When the veggies were sauteed and the bread was browned on all sides, I tossed them all together with a couple of lightly beaten eggs.


All of this went into a baking dish and into the oven at 350 for about 45 minutes. The moisture from the veggies, plus the eggs were just enough to bind it all together, and yet the bread remained crisp and had lots of air pockets in it. Sliced and topped with gravy it was just right.


Instead of the same old mashed potatoes, we made a blend of winter root vegetables (red and gold beets, baby potatoes, baby turnips and radishes) that I first braised in chicken stock for about 40 minutes before draining them, dressing with olive oil, salt and pepper and roasting them in a hot (450) oven for about 20 minutes to caramelize.


For the wine, we stayed firmly rooted in the Veneto, starting with a pair of wines we brought back from our trip to Verona in January. These were wines made by the owners of the Agriturismo that we stayed at. The first, a white known as Lugana, is particular to a small region at the southern tip of Lake Garda. We drank it with our appetizer course, beautiful wild white shrimp from the Carolinas, that Chiko sauteed with garlic and cayenne pepper in the Gambas al Ajillo style of Catalonia.
The next wine was a Cabernet, also from our Agriturismo in Peschiera del Garda, which we served with the pasta course, fresh pumpkin ravioli from Whole Foods, simply boiled and tossed with melted butter and sage leaves. Finally, to complement our main course, we enjoyed a 2003 Sartori Amarone. By the time we were at the table, I had completely forgotten to bring the camera and take pictures, so you will have to imagine how everything looked when it was done!

Friday, September 14, 2007

Even Our Dogs Are Foodies


We have a three year old Wheaten Terrier named Jamie, and she has been the pickiest of eaters ever since we got her. She simply doesn't like dog food, no matter what brand we try. Placed in front of her she'll pick at it, walk away and eventually come back to begrudgingly eat it hours later. Human food is a totally different story, she will swipe food off the counter, and I even caught her licking the bottom of a hot bbq grill trying to get at some of the smokey goodness of a slow cooked pork shoulder. Over the years I have cooked for her from time to time when I was worried about her (such as when she was sick or when she got depressed after our other dog passed away). These forays into dog cuisine were random in nature and usually consisted of simple things like eggs (either scrambled, or sunny side up with the yolk still runny) mixed in with her regular dog food. Sometimes I would save the rendered fat from a chicken, beef roast or a smoked pork shoulder (think bacon meets schmaltz) and use it to wet the dog food. These little tricks would usually get her eat a little bit more, but she rarely finished her food and I always had the feeling that I was the adoptive father of an anorexic pooch. We got a new puppy a few weeks ago (a standard schnauzer), and she is the polar opposite of Jamie. Jessie eats everything in sight, begging and pleading for her food, and seemingly devouring everything in the bowl before it hits the floor. Once she's done with her own food, she runs over to Jamie's bowl and finishes the usually untouched contents.

With the pet food scare earlier this year I started thinking about really cooking food for the dogs instead of buying it. I began researching the issue, and found it hard to get actual recipes for homemade dog food. The closest I got was a series of ratios (40% meat 30% whole grains 30% vegetables). Figuring that this was a relatively logical starting point, I made up my first batch of dog food last week using boiled chicken thighs, brown rice, oats and a bag of frozen mixed vegetables. I removed the skin and bones (reserving them along with the stock for my own personal consumption), mixed the chicken with the rice and veggies, and passed it all through the meat grinder attachment of my stand mixer.


Chicken thighs seasoned with a bouquet garni from my
herb garden, after all we're not animals!

A mixture of brown rice and oats, cooked in the rice cooker.


Frozen mixed veggies (ya gotta cut corners sometimes!)


The secret ingredient, anchovies! They add vital omega 3's,
plus that special stinkiness dogs love.


I chose the meat grinder instead of a food processor because I was worried about the texture getting too gummy. The resulting product had the consistency of damp sawdust, and had the wonderful flavor of a chicken and vegetable stew.
Ready to grind!

This attachment cuts without crushing. I've used it before to make vegetarian "sausages" from whole grains and legumes.
Yum-O!


It tasted so good that I put a big spoonful in a soup bowl,
added more chicken stock and ate it for dinner myself !

To my delight, when I fed it to the dogs they both wolfed it down with gusto. Jamie could not be dislodged from her food dish, licking the bottom till it shone like a mirror. It is a world of difference, serving them freshly cooked meat and veggies, and obviously they know the difference. I do worry about if this is nutritionally complete, but on the surface the combo of whole grains, veg and protein would seem to the the trick. I'll talk to the vet to make sure, but at least I know that they like the taste.